
Picture this: the cold, crisp air of January wraps around me as I step into my garden, my breath fogging in the chill. The world feels dormant, but in the heart of winter lies a secret waiting to be unveiled. This is the perfect time to take fig tree cuttings, and I can almost taste the sweet, succulent figs that will one day grow from these little pieces of potential. With tools in hand and a plan set, I’m about to transform my garden into a flourishing fig paradise.
Highlights
- 🌳 Optimal Timing: Late winter is the ideal period for taking fig tree cuttings.
- 💧 Soil Care: Managing moisture levels is crucial for rooting success.
- 🌱 Rooting Methods: Various techniques can maximize the chances of success.
- 📅 Seasonal Considerations: Aligning actions with the tree’s dormancy phase makes a difference.
Understanding the Timing of Fig Tree Cuttings
The cold winter months may seem like a time to hibernate, but they are a golden opportunity for incorporating propagation into my gardening routine. Late winter to early spring is when fig trees enter their dormant phase, storing energy in their roots. During this season, taking cuttings becomes a strategic move.
I’ve found that hardwood cuttings taken in late January to early March yield the best results. They are sturdier, which means they can better handle the transition from cutting to tree.
But why is this so important? Just like people, trees have their own rhythm. When taken at the right time, cuttings have a higher chance of rooting successfully. In colder climates, I make sure to align my efforts with the seasonal timing to protect my developing plants from extreme weather conditions.
Preparing the Cuttings: Tools and Techniques
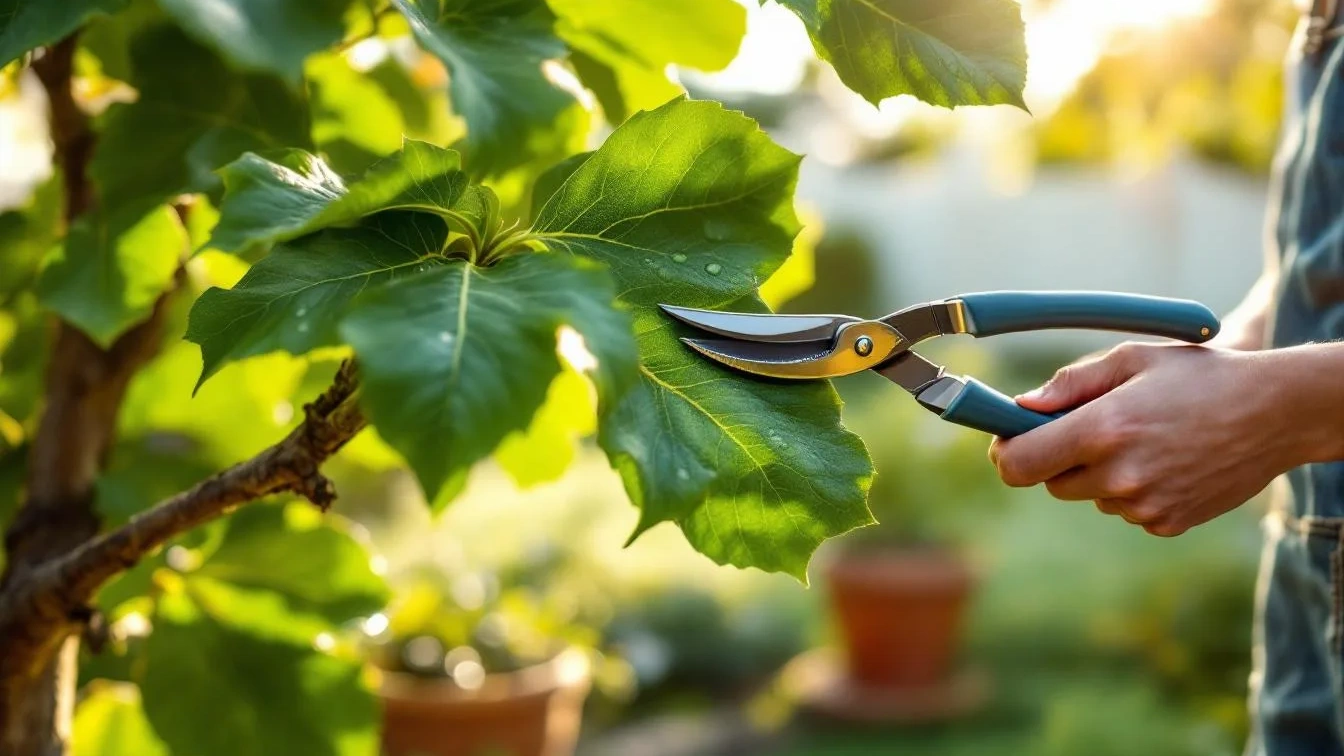
Alright, before diving into the actual cutting process, let’s gather my arsenal: sharp pruning shears, soil mix, and perhaps a rooting hormone. Yes, entering the horticulture zone requires the right gear. I’ve learned that preparation is half the battle. Below is a quick rundown of what I need:
- ✂️ Sharp shears: For clean cuts.
- 🧴 Rooting hormone: While optional, it certainly boosts my success rate.
- 🌿 Well-draining soil: To avoid those dreaded soggy roots.
- 🪴 Pots: At least 4 to 6 inches in diameter for each cutting.
With my gear ready, I select strong, healthy stems from my established fig tree. Each cutting should be about 6-12 inches with at least three nodes. Those nodes are my ticket to healthy root development, so I’m meticulous about choosing the right portion of the plant.
Rooting Methods for Fig Tree Cuttings
Now comes the fun part: rooting. I’ve tried a couple of methods, but I’ve found some techniques consistently yield the best results. Each method has its pros and cons, but the key is to maintain the right environment. Here’s a breakdown of my favorites:
- 🌍 Direct Potting: This straightforward approach doesn’t require misting systems. I simply plant the cuttings directly into a pot filled with well-draining soil. It’s effective, low-maintenance, and allows me to allow the trees to root without the fuss.
- 💧 Fig Pop Method: For this, I place the cutting inside a sealed plastic bag with moist soil, creating a humid environment. This method amplifies my success; however, it does involve a gentle transplanting step once roots develop.
- 🌿 Ground Planting: Old-school yet effective, I can simply shove cuttings into the ground. Timing is crucial, as I wait until after the last frost signifies optimal conditions.
Whichever technique I choose, my goal remains the same: to ensure that those little cuttings have the best possible environment to flourish.
The Importance of Soil Moisture
Once my cuttings are in their respective pots, the real work begins. Soil moisture management plays a vital role in rooting success. Too much wetness can lead to rot, while too little can set my cuttings up for premature failure.
To hit that sweet spot, I’ve adopted a simple method: weighing my pots to monitor moisture levels. It’s a bit of an unconventional technique, but it works wonders. I aim for a balance of about 4 parts soil to 1 part water.
Keep Your Fingers Crossed and Wait
Patience is key in this saga of gardening. After a few weeks—typically 4 to 8—I start checking for little signs of rooting. New growth is an exciting indicator, but I resist the urge to disturb the cuttings. I learned the hard way that meddling can do more harm than good.
The anticipation grows, and while waiting isn’t the most thrilling part, it’s what makes success taste all the sweeter. Whether or not I hit that higher probability for rooting depends on how well I’ve followed my prior steps—timing, prep, technique, and care.
Encouragement to Get Started with Fig Tree Cuttings
If you’re contemplating propagating fig trees, I wholeheartedly encourage you to dive in! It’s not just about growing fruit; it’s about cultivating new life in a way that connects you with nature. Think of the sweet, juicy figs to come, and get your hands ready for a bit of winter gardening magic.
With each cutting, I feel like I’m transferring not just plant material but also a piece of heritage— whether it be from a neighbor’s garden or an old family favorite. That’s the beauty of plant cuttings: they bring history and future together in a single, fruitful moment!